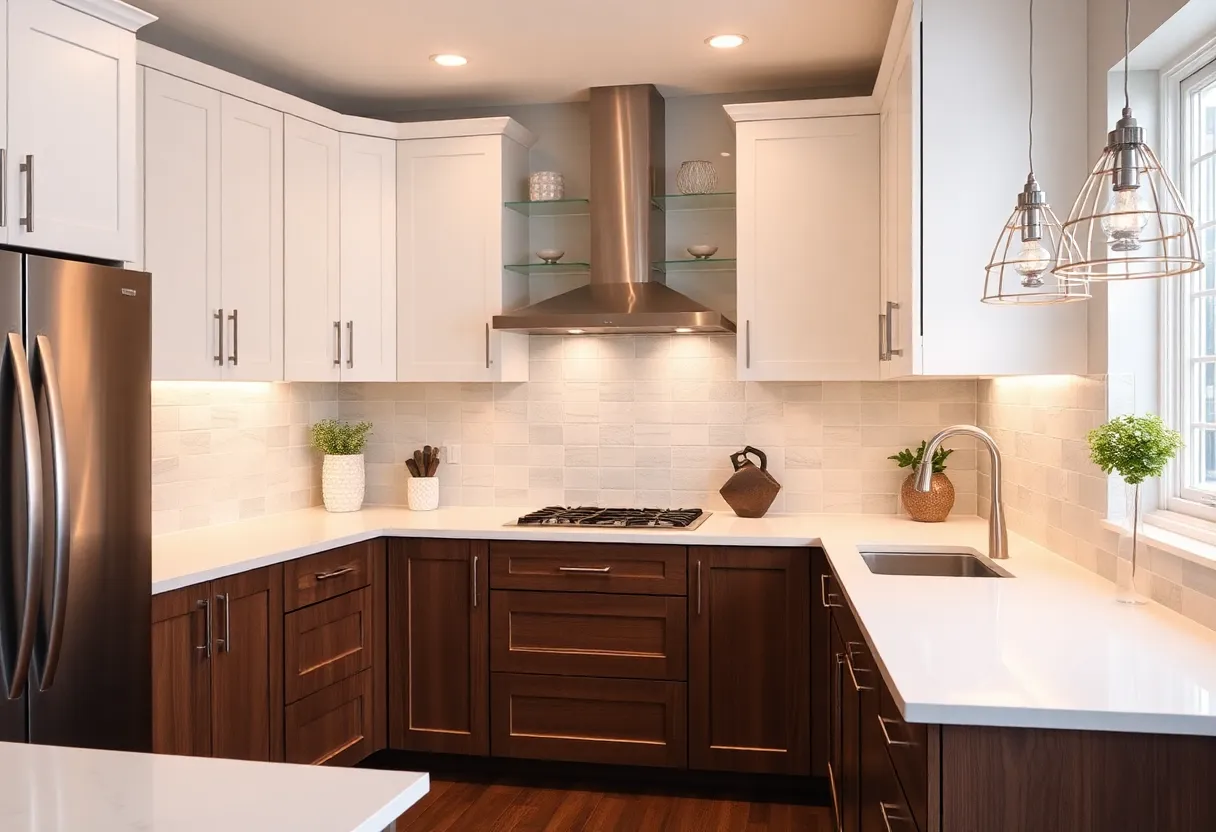
Step-by-Step Guide to a DIY Kitchen Remodel: Save Money and Stay on Trend
Embarking on a diy kitchen remodel can be an exciting challenge. Not only does it allow you to personalize your cooking space, but it can also save you considerable money. With careful planning and execution, a DIY remodel can keep your kitchen looking modern and functional. This guide will walk you through the essential steps to ensure a successful renovation.
1. Planning Your Remodel
1.1 Set Goals
Before initiating any diy kitchen remodel, define your objectives. Do you want to enhance functionality, update aesthetics, or optimize space? Establish clear goals to guide your decisions throughout the project.
1.2 Budgeting
Set a realistic budget. Determine what you can afford and allocate funds to various aspects such as cabinetry, countertops, appliances, and flooring. Consider unexpected costs; it is prudent to add a contingency buffer of 10-15% to your budget.
1.3 Design Inspiration
Drawing inspiration is crucial. Browse home improvement websites, social media platforms like Pinterest, and magazines tailored to kitchen design. Identify trends and styles that resonate with your vision.
2. Gathering Materials and Tools
2.1 Essential Tools
Invest in vital tools for the remodel. Commonly needed items include:
- Measuring tape
- Level
- Drill and drill bits
- Hammer
- Screwdriver set
- Utility knife
- Pliers
2.2 Sourcing Materials
Research suppliers for kitchen materials. Opt for quality products, as they enhance the remodelling experience and the kitchen’s longevity. Consider options like local hardware stores, online retailers, and even salvage yards for unique items at lower prices.
3. Demolition and Preparation
3.1 Remove Old Fixtures
Start the demolition by removing outdated fixtures. This includes cabinets, countertops, and appliances. Ensure that you turn off electricity and water supplies before commencing any demolition work to avoid accidents.
3.2 Evaluate the Space
After demolition, evaluate the space. Inspect walls, floors, and electrical systems for any needed repairs. Address issues like plumbing leaks and outdated electrical wiring prior to moving forward with the remodel.
4. Designing Your Kitchen Layout
4.1 Layout Considerations
Choose a functional kitchen layout that supports cooking and movement. Popular options include the U-shape, L-shape, and galley layouts. Factor in the work triangle concept—placing the sink, stove, and refrigerator at convenient distances for efficiency.
4.2 Customizing Your Design
Integrate personalized touches that reflect your style. These might include unique cabinet colors, backsplash designs, or innovative storage solutions. Remember, practicality should marry aesthetics.
5. Installing New Features
5.1 Cabinet Installation
New cabinets are often the centerpiece of a kitchen remodel. Start by installing wall cabinets, ensuring they are level and secure. Follow up by installing base cabinets.
5.2 Countertops
Select your countertop material based on durability, maintenance, and style. Granite, quartz, and butcher block are popular choices. Ensure precise measurements for the perfect fit.
5.3 Flooring Options
Choose flooring that complements your kitchen’s design. Options might include tile, hardwood, or laminate. Ensure the flooring is installed level and adhered properly to prevent future issues.
6. Updating Appliances and Fixtures
6.1 Selecting Appliances
Invest in energy-efficient appliances that align with your design. While they may cost more upfront, energy savings will pay off in the long run. Ensure that your selected appliances fit your space adequately.
6.2 Fixtures and Finishes
Choose fixtures that match your design aesthetic. Consider faucets, sinks, and cabinet hardware. Ensure they are both functional and stylish, enhancing the overall look of the kitchen.
7. Finishing Touches
7.1 Paint and Backsplash
Paint can dramatically change the perception of your kitchen. Opt for light colors to make the space feel larger or bold hues for a trendy look. Consider a stylish backsplash to add texture and personality.
7.2 Lighting Solutions
Illumination is vital. Install a mixture of ambient, task, and accent lighting for a comprehensive lighting scheme. Recessed lighting, under-cabinet lights, and pendant fixtures can enhance functionality and ambiance.
8. Final Evaluation and Enjoyment
8.1 Walkthrough Inspection
Once the project is complete, conduct a thorough walkthrough. Ensure all elements are functional and meet your design goals. Verify that appliances work correctly, cabinets open smoothly, and flooring is even.
8.2 Celebrate Your Achievement
Finally, take a moment to appreciate your hard work. Your diy kitchen remodel has not only saved you money but provided a personalized space tailored to your needs.
Conclusion
A DIY kitchen remodel can be an enriching endeavor. By following these structured steps, you can create a beautiful, functional kitchen without breaking the bank. With careful planning and execution, your kitchen can remain on trend while staying true to your personal style. Approach each phase with confidence, and enjoy the journey of transforming your culinary space.


